
“The Beer Dashboard”, I’m sure that title is as eye catching as it is confusing! No, it doesn’t have anything to do with the consumption of beer (not directly), but rather with the intricate art of homebrewing.
Myself and my flatmate Victor have always been fond of beer, particularly trying different styles from around the world. Traditional Bavarian Helles, Weissbiers, Dunkelweizens and so on. As University students, we had the fantastic idea of trying to brew some of these beers ourselves. We did this for around 3 years, gradually moving from easy to use “kit” style brews to assembling everything ourselves, from the choice of malt all the way down to boiling the hops to extract bitterness.
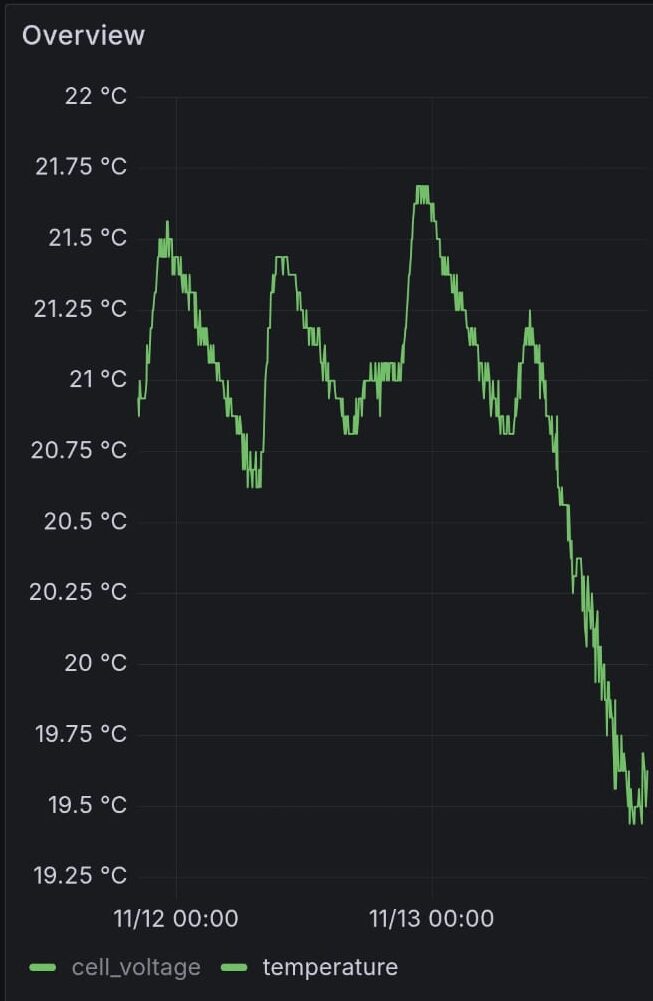
Now, how exactly does software and engineering come into play? Well, we wanted to continue brewing our beers through the winter, however the unforgiving Glasgow weather caused unpredictable temperature fluctuations. During fermentation, it is important to keep the mixture within a fairly specific temperature range. If it gets too cold, the yeast can become inactive and stop fermenting, while if it gets too hot, the yeast can become stressed or even die, potentially ruining the batch. I decided to modernise our process by designing a temperature monitoring device that periodically takes readings and submits them to a remote server, allowing us to keep an eye on the temperature of our brews remotely.
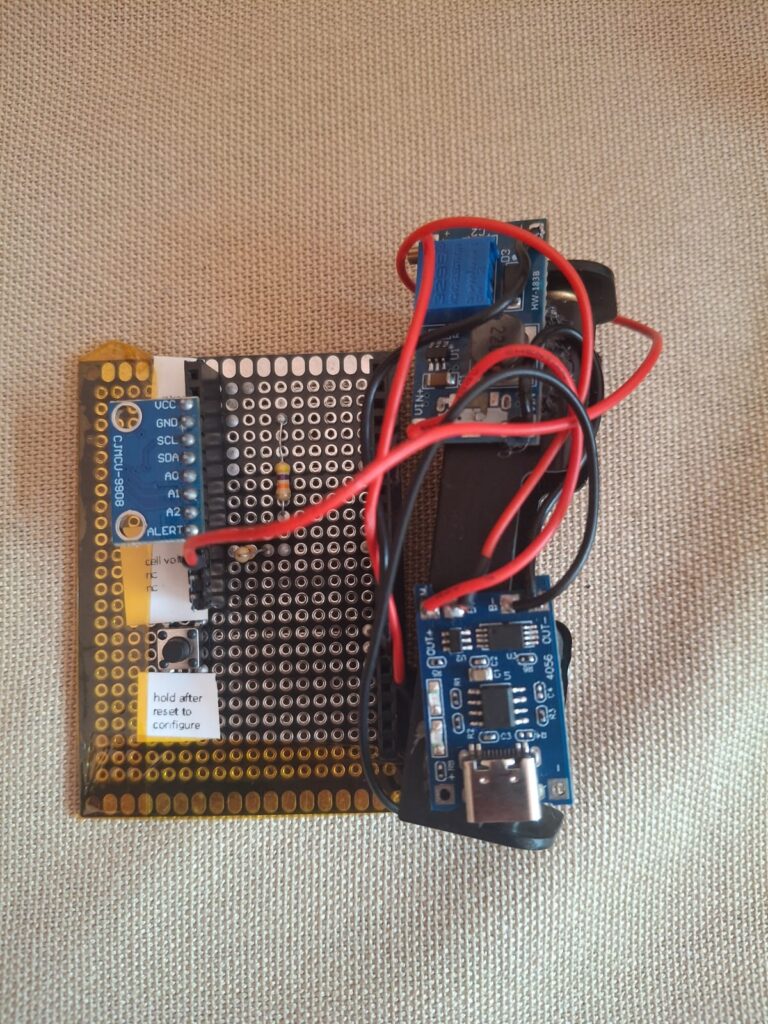
For this project I chose the ESP32 microcontroller, as it is a capable device with cheap development boards available and built in WiFi capabilities. I also bought a basic SPI based temperature sensor to connect to the microcontroller and decided to power the whole thing with a single 18650 cell.
There were a few things I did in this project that were brand new to me. Firstly, designing a low power system that was as conservative as possible with battery life. Secondly, using off the shelf data analytics tools to view the data rather than building my own system. Finally, I wanted to set up a reusable configuration interface so that I didn’t have to keep reflashing the microcontroller every time I wanted to change a setting.
In order to minimise the need to reflash the microcontroller, I added a configuration mode which can be triggered by pressing and holding the reset button. When this is done, the ESP32 instead uses its hotspot functionality to broadcast its own WiFi network. Once connected to this network from another device, you can access a very simple web server with a configuration interface. This allows you to specify the URL for the remote endpoint, the interval at which measurements are sent and the username and password for the WiFi network to which the microcontroller should connect. I am very glad I had the forethought to implement this simple configuration interface as it saved me a lot of time and hassle. I didn’t have to boot up PlatformIO and reflash the microcontroller every time I had to reconfigure it.
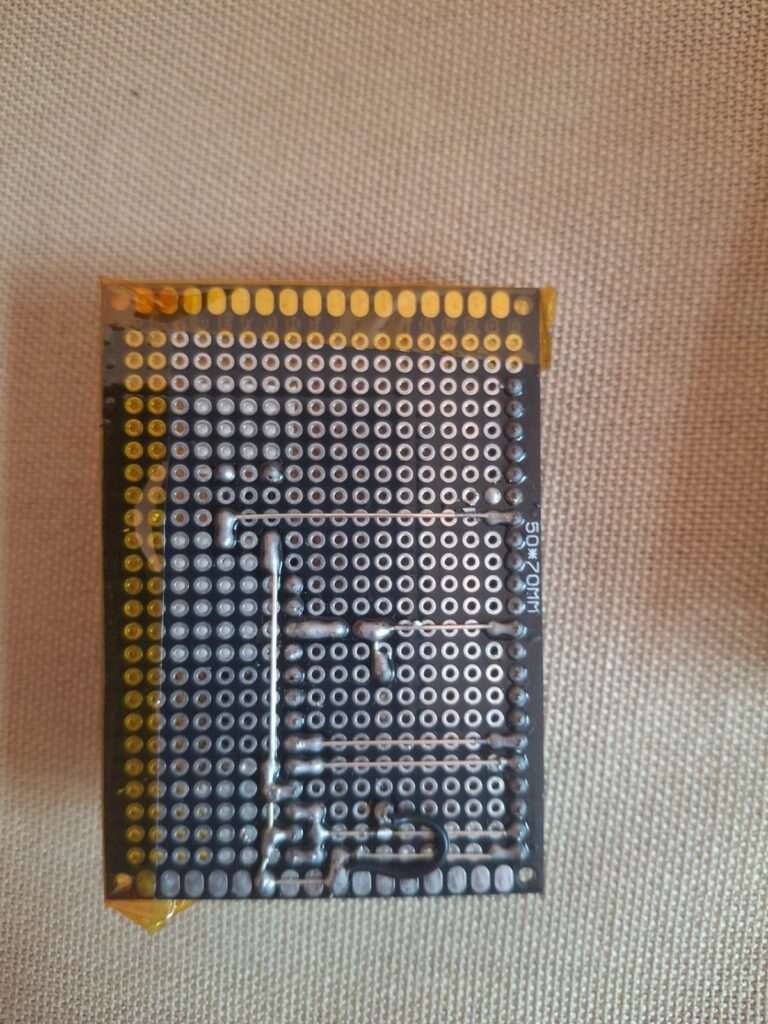
After soldering everything, the software was relatively simple on the microcontroller side. All there was to do was take a temperature reading and send it to the remote web server via a POST request. A simple password-based approach was used to prevent web crawlers or other entities from falsely submitting temperature readings. Furthermore, I embedded the SSL certificate directly in the code in order to allow for encrypted TLS HTTPS requests from the ESP32. I would certainly like to find a way in the future to not rely on storing the certificate directly on the device, but this was my first time enabling HTTPS on a microcontroller, so I was ultimately satisfied with the end result.
I also utilised the on board ESP32 LED for status indication, showing a flashing light if the previous transmission failed and resetting it to no light if it was successful. This way I can tell if the internet is down or if something else has gone wrong.
I utilised the ESP32’s deep sleep mode, waking the device up only periodically to send a reading before going back to sleep. This allowed it to draw very small amounts of current and worked very well, allowing the device to run for up to 6 weeks without requiring the cell to be recharged.
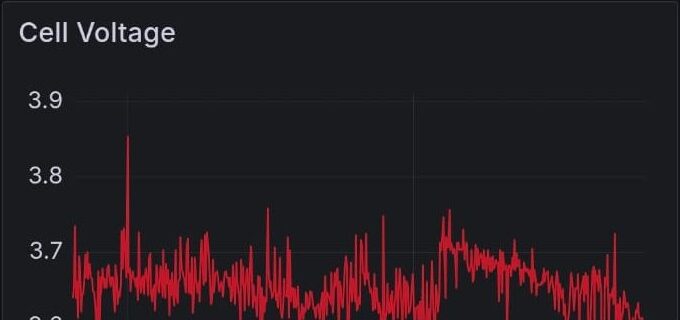
For the remote server, I used a basic Flask endpoint to ingest the data and append it to a CSV file. No fancy databases… Instead, I experimented with Grafana, an open source, off the shelf data visualisation web app. You simply run the instance on your remote server and can log in from anywhere and add in custom data sources, such as CSV files. This abstracts away the presentation of the data and allowed me to add my own visualisation panels. My flatmate also has his own login and dashboard, so we can both keep an eye on our brews.
As a next step, I would like to make the system fully closed-loop, feeding the temperature into a control circuit that can automatically switch the heater on and off to maintain the desired temperature. Adding load cells beneath the fermenter would also allow the system to track the brew’s weight over time. As CO₂ is produced and expelled during fermentation, the resulting change in weight could provide an additional way to monitor fermentation progress and determine when the beer is ready.
This project embodies my favourite type of project. Building something for a real use case that I can actually use and be proud of, while teaching myself about new concepts along the way. It gave me the opportunity to learn about using deep sleep to minimise power usage, networking from a microcontroller using C++, and enabling security features such as HTTPS and SSL, all while building something that actually serves a purpose.