Overview
PyFisheye is short for “Python Fisheye” and is the name of an open source Python library I wrote in my spare time. The “fisheye” in the name refers to fisheye lenses, which are wide angle lenses that get their name from the distinctive warping and distortion they apply to an image. The library provides tools for calibrating fisheye cameras as well as projecting and backprojecting points between 3D space and an image. It is fast, lightweight and implemented entirely in Python and NumPy, using Davide Scaramuzza’s fisheye lens model and calibration procedure.
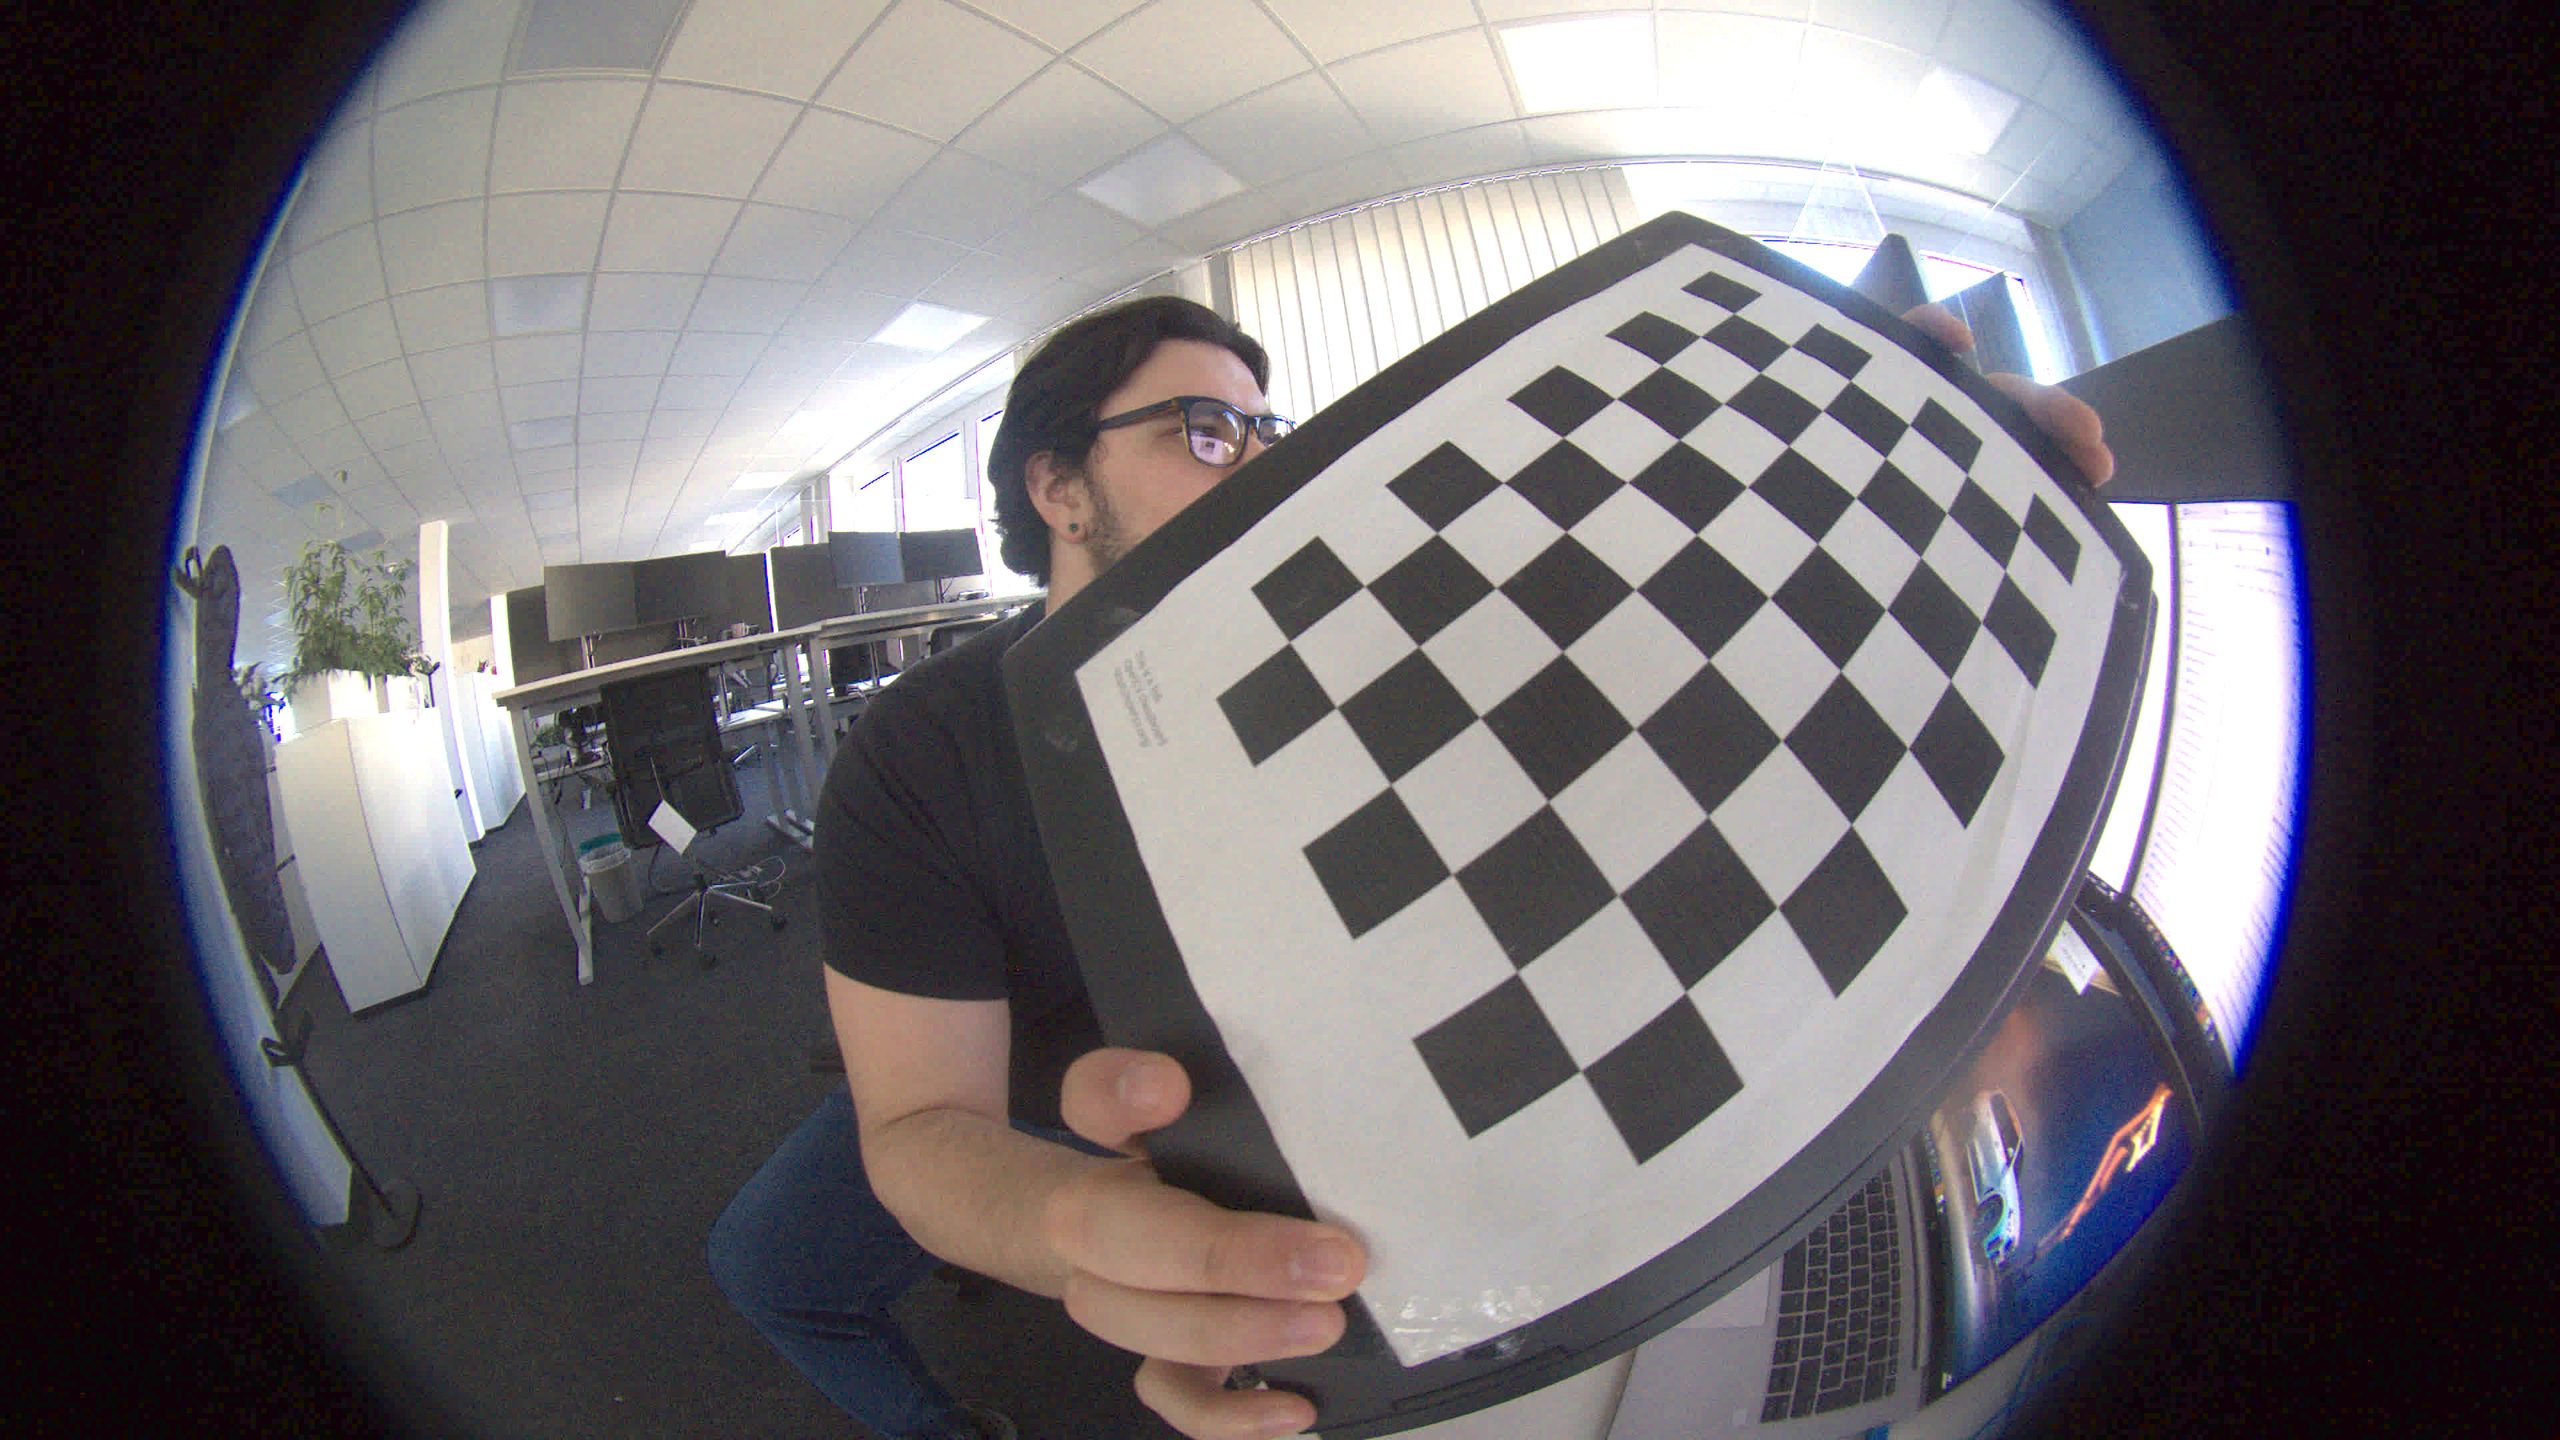
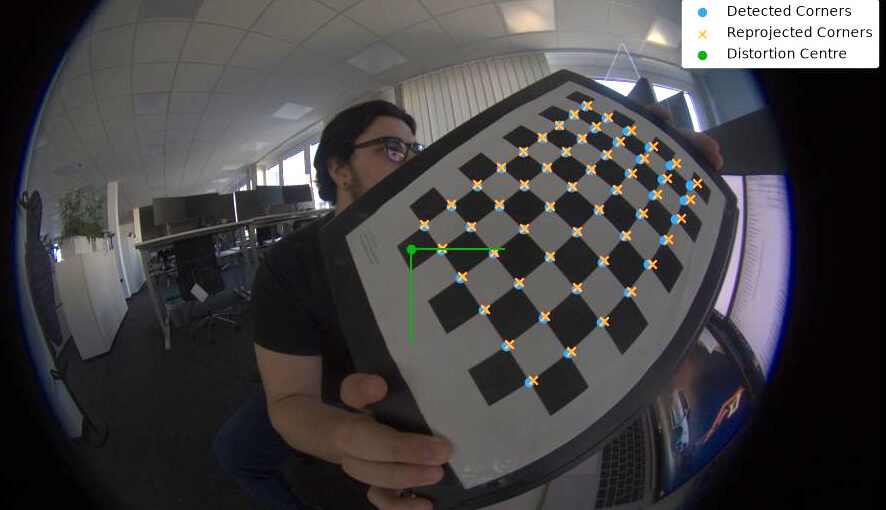
Notice how towards the middle of the image, everything looks fairly normal, but towards the edges, straight lines become increasingly warped and curved. This is particularly obvious from the checkerboard pattern, which is made up of straight perpendicular and parallel lines but appears curved in the image.
Why does this happen? There are two main reasons. Firstly, distortion is introduced by imperfections in the lens itself. This is unavoidable and affects all cameras to some degree. Secondly, there is a more fundamental problem. In order to map a field of view wider than 180 degrees onto a flat rectangular image, some form of distortion has to occur. This is known as projection distortion. It is the same reason that many “flat” world maps misrepresent the relative sizes of countries depending on where they are located in the projection.
So why use a fisheye camera if it introduces so much distortion? The answer is that fisheye lenses allow a single camera to capture much more of the surrounding environment than an ordinary camera with a narrower field of view. Very wide angle lenses can even have fields of view exceeding 180 degrees, with the lens in the example above having a field of view of approximately 210 degrees. In the real world, this can mean putting a single image through a costly deep learning model while still capturing information at the peripheries, rather than relying on multiple cameras and potentially slowing down the entire pipeline.
Calibration
In order to make use of these distorted images, we need to do something called calibration. Calibration involves determining a set of parameters specific to an individual camera which describe how it maps points in 3D space to pixels in the resulting image.
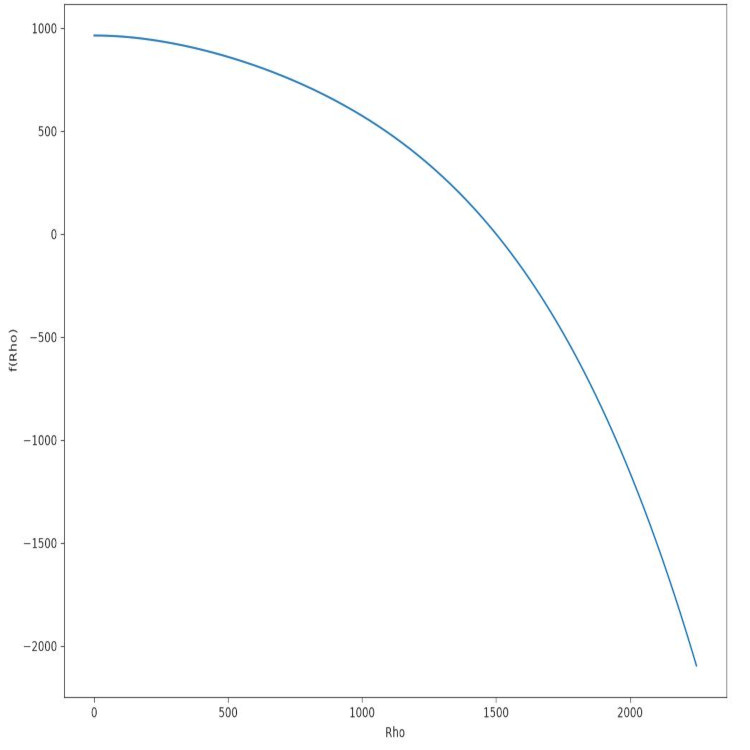
To do this, we first need a mathematical model which describes the camera’s projection behaviour. Luckily, researchers have proposed several parameterised models that can be used for this. In my library, I use the model proposed by Davide Scaramuzza, which models the backwards projection function as a fourth degree polynomial of the radial distance of a point from the centre of the image.
But what can we actually do with a calibrated camera? The most common operations are:
- Projection: map a point in 3D space to a pixel in an image
- Backprojection: map a point in an image to a ray in 3D space
- Undistortion: map a region of space or an image into a rectilinear image without distortion
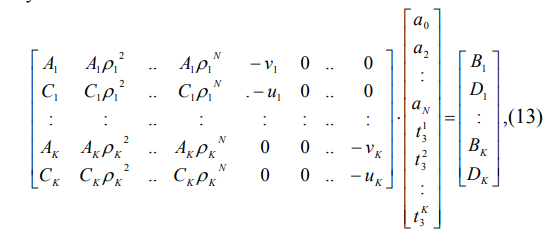
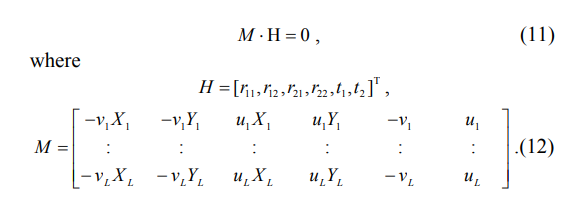
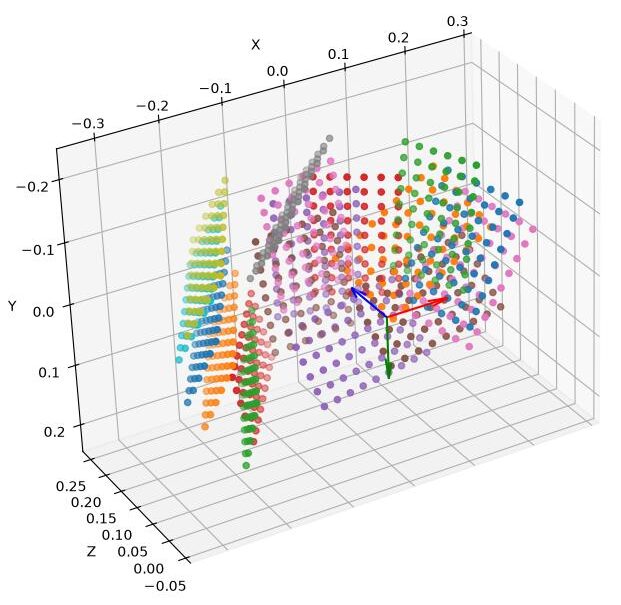
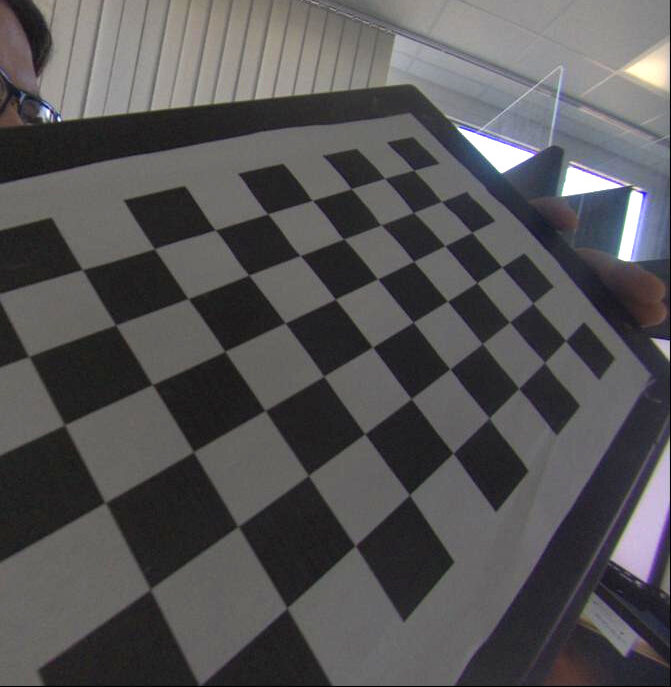
Once we have our mathematical model, we need a way of finding the parameters for a particular camera. The checkerboard method is one of the most commonly used approaches. It involves taking pictures of a planar black and white checkerboard at different positions and orientations relative to the camera.
The physical properties of the checkerboard, such as the cell dimensions and number of rows and columns, are provided to the calibration algorithm. The corners of the checkerboard can then be detected automatically and, because the pattern is known to be planar and its dimensions are known, their positions in 3D space can be determined. From this, numerical optimisation can be used to solve for the camera parameters.
The camera parameters are divided into two categories: extrinsic and intrinsic parameters. Extrinsic parameters describe the position and orientation of the camera relative to some origin. During calibration, there is a different set of extrinsic parameters for each checkerboard image, with the origin defined relative to the checkerboard. Intrinsic parameters describe the camera itself and are shared across all of the images.
After obtaining initial estimates for these parameters, the image centre is estimated and a final nonlinear optimisation is carried out to refine both the intrinsic and extrinsic parameters. Finally, the checkerboard corners are projected back onto the original 2D images using the estimated parameters. This gives us the final reprojection error. Ideally, the projected points should line up almost perfectly with the actual checkerboard corners.
Example
Conclusion and takeaways
I was inspired to start this project by my professional work with fisheye cameras. I found the calibration procedure, particularly the numerical optimisation involved, to be quite elegant and interesting. Because of this, I spent several weeks studying different calibration models and developing PyFisheye. There were a few things from the project that stood out to me.
Where research meets practice
Don’t expect to read a research paper like a comprehensive user manual. It often won’t get you from an empty project to a working implementation on its own. You need to understand the material at a higher level and then bridge the gaps yourself. Things that don’t make sense or don’t have enough detail to make the implementation feasible sometimes need to be adapted using methods from other sources or your own ideas.
This happened to me a few times, particularly with the details of the optimisation procedure. Only after giving myself more freedom in the choice of solvers and the precise optimisation process was I able to achieve the performance I was looking for. Sometimes the best thing you can do is think for yourself while still giving the research the respect it deserves.
Good software engineering practices go a long way
You don’t have to be working in a large team or on a large project to take the initiative and use good software engineering practices. Going through the process of creating issues, prioritising them and working through everything one step at a time, while writing plenty of unit tests, can seem like a lot of extra work when you’re working on your own.
However, that kind of discipline keeps the project clean and, more importantly, makes it worth finishing and publishing. Even for a project that started as something I was doing in my spare time, treating it like a real software project made a big difference to the final result.
Learn from other modern projects
Ultimately, I wanted my library to be usable by other people. I didn’t necessarily care if anybody else ever used it, but leaving it in a usable state was enough to satisfy me. At the very least, I wanted to be able to come back to it years down the line, brush the dust off it and actually use it again.
This is where looking at other modern open source projects taught me a lot. Seeing how established projects structure their repositories and documentation gave me a much better idea of what I should include in my own project to keep everything clean and maintainable.
Some of the things I implemented were:
- CI/CD to automatically run unit and integration tests across multiple Python versions
- Automatically deploying tagged releases to PyPI so that bug fixes can quickly be published
- Using GitHub Pages and modern documentation libraries such as Sphinx to create proper technical and user documentation